
Canned chicken pizza crust: 5 reasons you’ll adore it Recipe
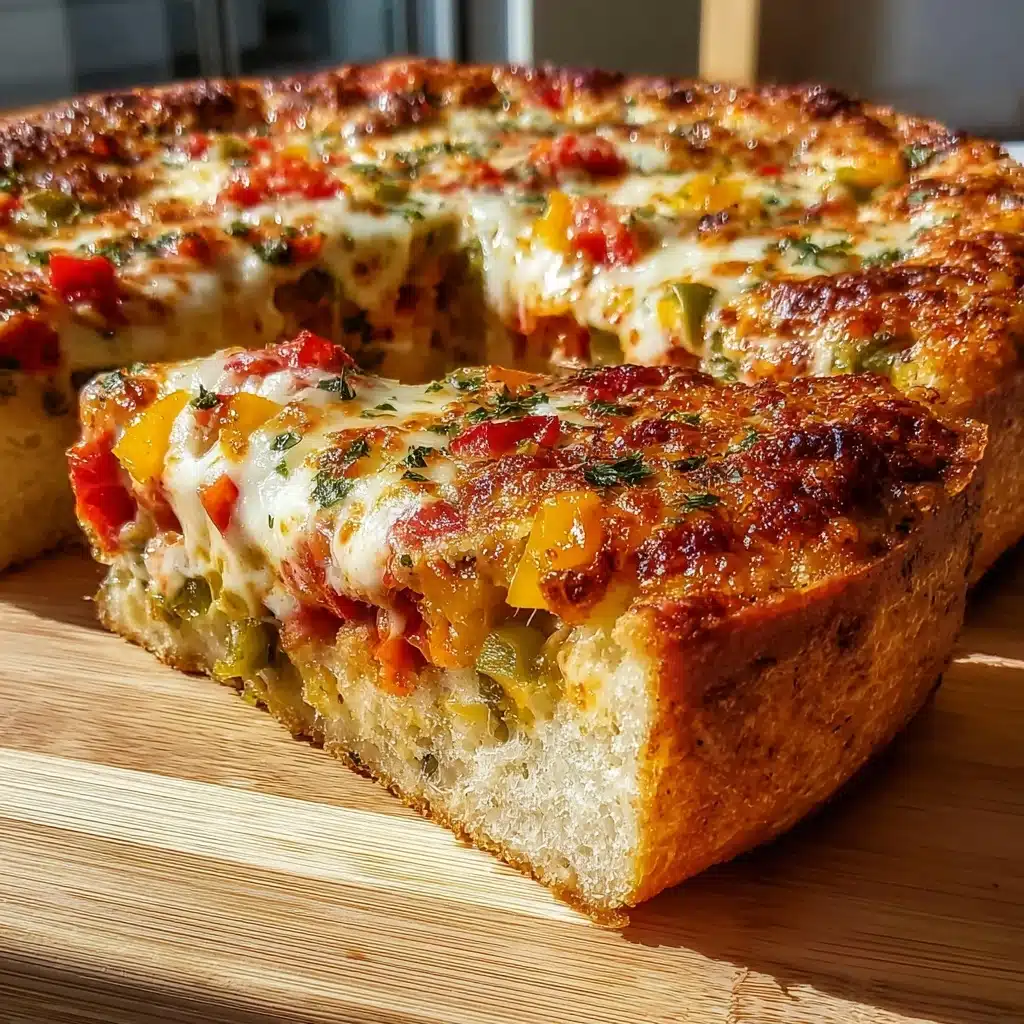
If you’ve ever wondered how to whip up a pizza crust that’s not only unique but also packed with flavor and protein, look no further than this delightful recipe featuring canned chicken. Trust me when I say, Canned chicken pizza crust: 5 reasons you’ll adore it is going to become your new go-to for quick dinners and creative meals that feel indulgent yet wholesome. It’s a game-changer in the kitchen because it turns a simple pantry staple into the star of your pizza night. Let me walk you through why this crust is an absolute must-try and how easy it is to make!
Ingredients You’ll Need
Before you get started, let me assure you that the ingredient list is refreshingly uncomplicated but each item plays a crucial role. From the savory canned chicken giving body and protein, to the mozzarella cheese lending stretch and richness, every addition enhances the crust’s taste, texture, and even color.
- 1 can of chicken (12.5 oz): The foundation of this recipe, providing moistness and a hearty protein punch.
- 1 cup of shredded mozzarella cheese: Adds creamy texture and helps bind the crust together beautifully.
- 1/2 cup of almond flour: Keeps the crust gluten-free and adds a subtle nutty flavor and slight crunch.
- 1 egg: Acts as a perfect binder to hold all the ingredients firmly in place.
- 1 teaspoon of Italian seasoning: Infuses the crust with aromatic herbs that brighten every bite.
- 1/2 teaspoon of garlic powder: Adds depth and a touch of savory warmth without overpowering.
- Salt and pepper to taste: Essential for enhancing all the flavors naturally.
How to Make Canned chicken pizza crust: 5 reasons you’ll adore it
Step 1: Prepare your oven and chicken
Start by preheating your oven to 400°F (200°C) so it’s nice and hot when your crust is ready. While it’s heating, drain the canned chicken thoroughly — this step is crucial to avoid a soggy crust and will let the chicken shine as the main base.
Step 2: Mix all the ingredients
In a large mixing bowl, combine the drained chicken, shredded mozzarella, almond flour, egg, Italian seasoning, garlic powder, salt, and pepper. Get in there with a sturdy spoon or your hands and mix until everything forms an even, sticky dough. This is where the magic happens to create a flavorful and binded crust.
Step 3: Shape and bake the crust
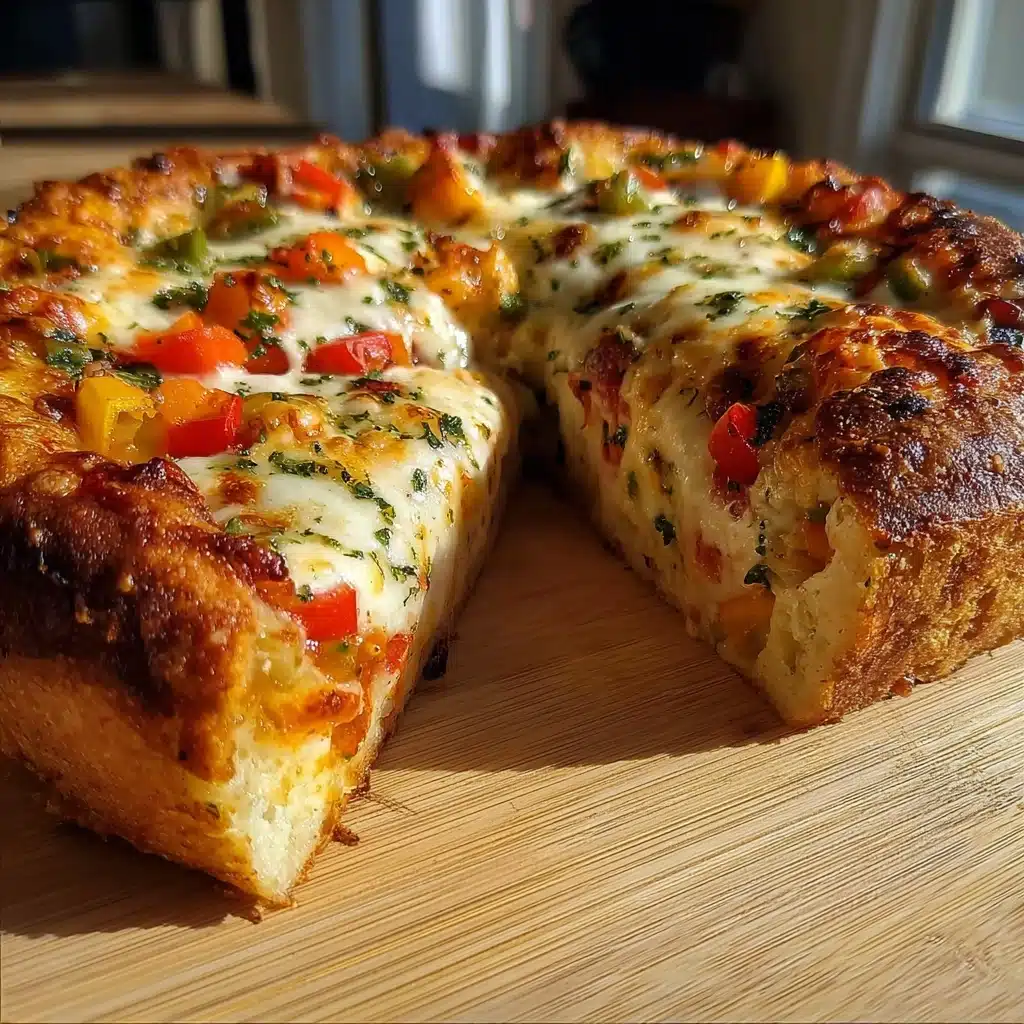
Line a baking sheet with parchment paper to prevent sticking, then spread the mixture evenly into your desired crust shape — round, rectangle, or even mini individual pizzas. Bake in the preheated oven for 15-20 minutes until your crust turns golden and slightly crisp at the edges. This step seals in the flavors and builds a lovely base for toppings.
Step 4: Add toppings and finish baking
Once the crust has baked to perfection, pull it out and pile on your favorite pizza toppings. Whether you go classic with marinara and veggies or get adventurous with pesto and sun-dried tomatoes, the crust will hold up wonderfully. Pop it back in the oven for another 10-15 minutes until your cheese melts and bubbles beautifully.
How to Serve Canned chicken pizza crust: 5 reasons you’ll adore it
Garnishes
Fresh garnishes can elevate this crust even further — think vibrant basil leaves or a sprinkle of freshly grated Parmesan cheese right before serving. The contrast of brightness and salty richness makes every bite more memorable.
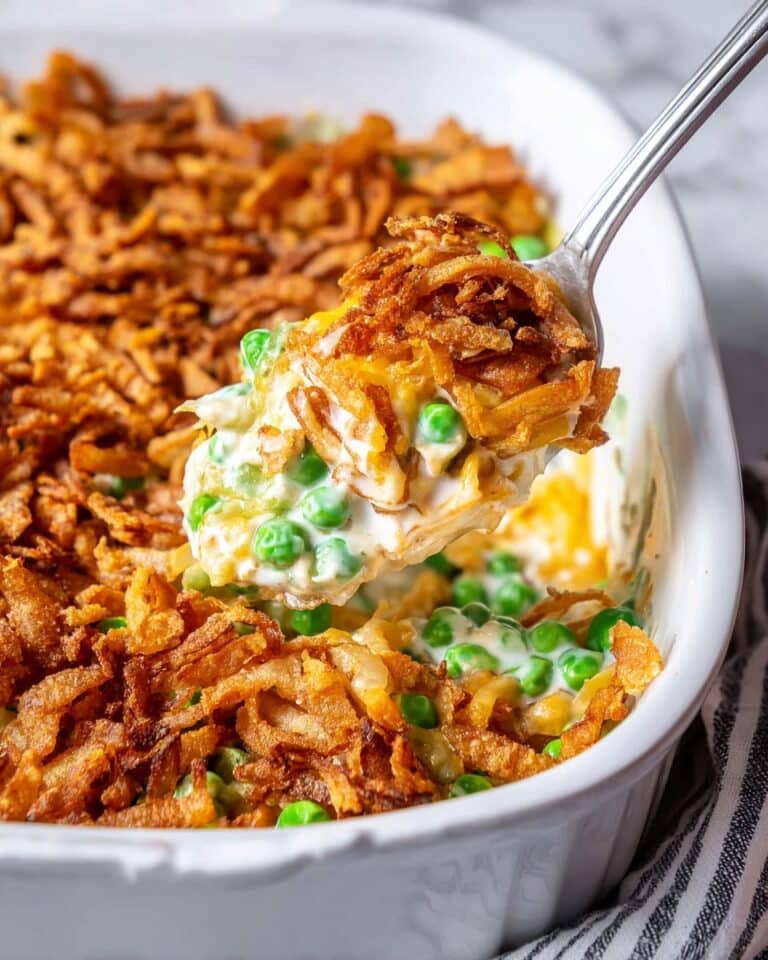
Side Dishes
Serve your canned chicken pizza crust alongside a crisp green salad or roasted vegetables to balance the richness of the cheesy, protein-packed crust with fresh, light flavors. A zingy vinaigrette on the side can complement the Italian seasoning beautifully.
Creative Ways to Present
Try slicing your pizza into fun shapes for sharing, or use the crust as a base for mini “pizzas” during game night or family gatherings. You can also turn it into a flatbread appetizer topped with dollops of ricotta and a drizzle of balsamic reduction — endless possibilities await!
Make Ahead and Storage
Storing Leftovers
Wrap any leftover crust or whole pizzas tightly in plastic wrap or foil and store them in the refrigerator for up to three days. This crust holds its texture surprisingly well, so it remains tasty and easy to reheat.
Freezing
If you want to make life even easier, freeze fully cooked crusts or topped pizzas in airtight containers or freezer bags. They keep well for up to two months. Just thaw overnight in the fridge before reheating for best results.
Reheating
Reheat your leftover or frozen crust in a skillet over medium heat for a few minutes to crisp it up, or place it in a preheated oven at 375°F (190°C) until warmed through and the cheese is bubbly again. Avoid microwaving to prevent sogginess.
FAQs
Can I use fresh chicken instead of canned chicken?
Absolutely! If you prefer, cook and shred fresh chicken breasts or thighs, then drain any excess moisture before mixing with the other ingredients. The canned chicken just offers convenience without sacrificing flavor.
Is this crust gluten-free?
Yes, thanks to almond flour replacing traditional wheat flour, this pizza crust is naturally gluten-free, making it perfect for those avoiding gluten or following low-carb diets.
Can I substitute almond flour with another flour?
You can, but keep in mind the texture and flavor might change. Coconut flour could work but absorbs more moisture, so you’d need less. Experiment to find your favorite combination!
How long does it take to make this pizza crust from start to finish?
You should expect about 40-45 minutes total — around 10 minutes prepping the dough, 15-20 minutes baking the crust initially, and another 10-15 minutes with toppings.
What toppings go best on this chicken crust?
Think Italian classics like tomato sauce, fresh basil, olives, and mushrooms or go for bold flavors like barbecue sauce, caramelized onions, and jalapeños. The crust is versatile and pairs wonderfully with many flavors.
Final Thoughts
Now that you’ve discovered how effortless and delicious this recipe is, I hope you’re as excited as I am to try Canned chicken pizza crust: 5 reasons you’ll adore it yourself. It’s quick, nourishing, and ridiculously satisfying. Whether you’re feeding family or entertaining friends, this crust turns pizza night into something truly special without fuss. Give it a go and watch it become your next kitchen favorite!
Print
Canned chicken pizza crust: 5 reasons you’ll adore it Recipe
- Total Time: 35-45 minutes
- Yield: 1 pizza crust (8–10 inches) 1x
- Diet: Gluten Free
Description
A quick and delicious low-carb pizza crust made with canned chicken, mozzarella cheese, and almond flour. This crust is perfect for a high-protein, gluten-free base that supports various dietary preferences while delivering a crispy and flavorful alternative to traditional dough.
Ingredients
Crust Ingredients
- 1 can of chicken (12.5 oz), drained
- 1 cup shredded mozzarella cheese
- 1/2 cup almond flour
- 1 egg
- 1 teaspoon Italian seasoning
- 1/2 teaspoon garlic powder
- Salt, to taste
- Black pepper, to taste
Instructions
- Preheat Oven: Preheat your oven to 400°F (200°C) to prepare for baking the crust.
- Prepare Chicken: Drain the canned chicken well and place it in a large mixing bowl, breaking up any clumps.
- Add Ingredients: Add shredded mozzarella cheese, almond flour, egg, Italian seasoning, garlic powder, salt, and pepper into the bowl with the chicken.
- Mix Ingredients: Thoroughly mix all ingredients until a well-combined, dough-like mixture forms, ensuring even distribution of seasoning and binding.
- Shape Crust: Spread the mixture evenly onto a parchment-lined baking sheet, shaping it into a pizza crust approximately 8-10 inches in diameter and about 1/4 inch thick.
- Bake Crust: Bake the crust for 15 to 20 minutes until it turns golden brown and holds together firmly.
- Add Toppings: Remove the crust from the oven and add your desired pizza toppings, such as sauce, additional cheese, vegetables, or meats.
- Final Bake: Return the topped pizza to the oven and bake for an additional 10 to 15 minutes until the cheese is bubbly and toppings are heated through.
Notes
- You can substitute mozzarella with any mild melting cheese, such as Monterey Jack or cheddar.
- Ensure the canned chicken is well-drained to avoid excess moisture in the crust.
- Use parchment paper for easy removal and clean-up.
- For a crispier crust, bake a few extra minutes before adding toppings.
- Store any leftovers in the refrigerator for up to 3 days and reheat in the oven for best texture.
- Prep Time: 10 minutes
- Cook Time: 25-35 minutes
- Category: Main Dish
- Method: Baking
- Cuisine: American
Nutrition
- Serving Size: 1 slice (1/6 of the pizza crust without toppings)
- Calories: 180
- Sugar: 0.5 g
- Sodium: 400 mg
- Fat: 12 g
- Saturated Fat: 5 g
- Unsaturated Fat: 6 g
- Trans Fat: 0 g
- Carbohydrates: 4 g
- Fiber: 2 g
- Protein: 18 g
- Cholesterol: 80 mg
Keywords: canned chicken pizza crust, low carb pizza, gluten free pizza crust, chicken crust pizza, quick pizza recipe, keto pizza crust

