
Avalanche Krispie Bars Recipe
Introduction
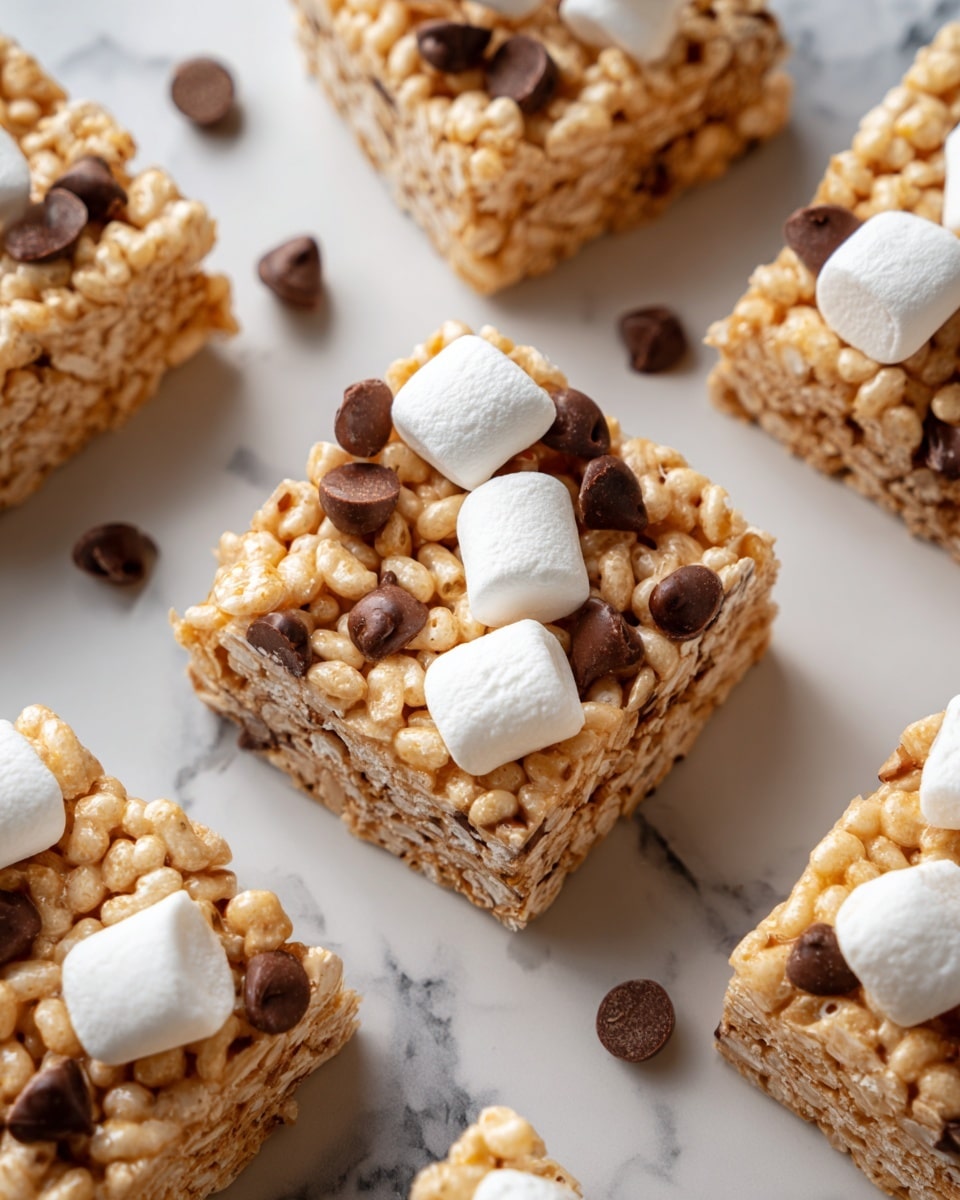
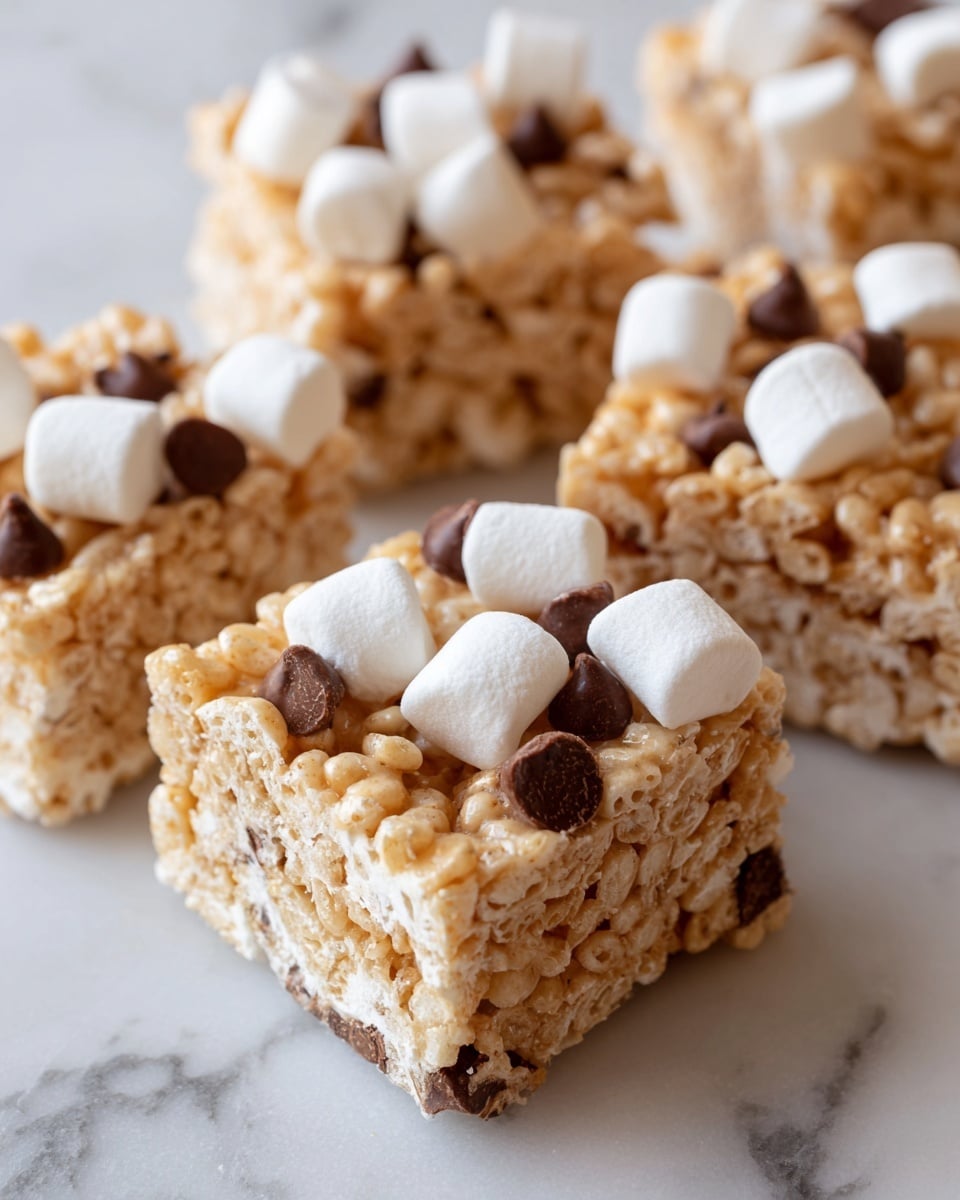
These Avalanche Krispie Bars are a delightful twist on a classic treat, combining creamy white chocolate and peanut butter with crunchy rice krispies and melty marshmallows. Perfect for a crowd or as an easy, no-bake dessert, they come together quickly and taste like a sweet, chewy dream.
Ingredients
- 2 bags white chocolate chips (11 ounces each)
- ½ cup creamy peanut butter
- 6 cups rice krispies cereal
- 1 cup mini chocolate chip morsels
- 3 cups mini marshmallows
Instructions
- Step 1: Melt the white chocolate chips and peanut butter together in a microwave-safe bowl or over a double boiler until smooth and creamy. Then, fold in the rice krispies cereal until evenly coated.
- Step 2: Let the mixture cool to room temperature, about 10 minutes. Once cooled, gently stir in the mini chocolate chip morsels and mini marshmallows.
- Step 3: Pour the mixture into a buttered 9-inch baking dish, pressing lightly to evenly spread it. Refrigerate for 30 minutes to set. Cut into squares and serve cold. Enjoy!
Tips & Variations
- For an extra crunchy texture, toast the rice krispies slightly before folding them in.
- Try swapping creamy peanut butter with almond or cashew butter for a different nutty flavor.
- Add chopped nuts or dried fruit for extra variety and chewiness.
- If you prefer, use regular chocolate chips instead of mini ones for bigger pockets of chocolate.
Storage
Store the bars in an airtight container in the refrigerator for up to 5 days. They are best enjoyed cold and can be eaten straight from the fridge. To soften slightly before serving, let the bars sit at room temperature for 5–10 minutes.
How to Serve
Serve this delicious recipe with your favorite sides.
FAQs
Can I use milk or dark chocolate instead of white chocolate?
Yes, you can substitute white chocolate chips with milk or dark chocolate chips. Keep in mind this will change the flavor profile and color of the bars.
Can these bars be frozen?
Yes, you can freeze the bars in an airtight container for up to 2 months. Thaw them in the refrigerator before serving to maintain texture and flavor.
Print
Avalanche Krispie Bars Recipe
- Total Time: 40 minutes
- Yield: 16 servings 1x
Description
Avalanche Krispie Bars are a delightful no-bake treat combining creamy white chocolate and peanut butter with crunchy rice krispies, mini chocolate chips, and marshmallows. Perfectly sweet and chewy, these bars are easy to make and ideal for parties or snacks.
Ingredients
Main Ingredients
- 2 bags white chocolate chips (11 ounces each)
- ½ cup creamy peanut butter
- 6 cups rice krispies cereal
- 1 cup mini chocolate chip morsels
- 3 cups mini marshmallows
Instructions
- Melt White Chocolate and Peanut Butter: In a microwave-safe bowl or over a double boiler, melt the white chocolate chips together with the creamy peanut butter until smooth and creamy, stirring frequently to combine evenly.
- Mix in Rice Krispies: Fold the rice krispies cereal gently into the melted white chocolate and peanut butter mixture, ensuring that the cereal is evenly coated without crushing it.
- Cool the Mixture: Allow the mixture to cool to room temperature for about 10 minutes. This helps the mixture thicken slightly and prevents the mini morsels and marshmallows from melting when they are added.
- Add Mini Morsels and Marshmallows: Once cooled, stir in the mini chocolate chip morsels and mini marshmallows, gently folding them into the mixture to distribute evenly.
- Press into Baking Dish: Pour the mixture into a buttered 9-inch baking dish. Press down lightly with a spatula or clean hands to evenly spread and compact the bars for easier cutting.
- Refrigerate: Place the baking dish in the refrigerator for 30 minutes to allow the bars to set and firm up.
- Cut and Serve: Once set, cut the mixture into squares. Serve cold and enjoy your Avalanche Krispie Bars!
Notes
- For easier cutting, use a sharp knife warmed slightly with hot water and wiped dry.
- You can substitute crunchy peanut butter if you prefer a bit of texture in the bars.
- Store leftover bars in an airtight container in the refrigerator to maintain freshness.
- Feel free to add chopped nuts or dried fruit for additional flavor variations.
- If white chocolate chips are unavailable, use vanilla-flavored candy melts as an alternative.
- Prep Time: 10 minutes
- Cook Time: 0 minutes
- Category: Dessert
- Method: No-Cook
- Cuisine: American
Keywords: Avalanche Krispie Bars, no-bake dessert, rice krispie treats, white chocolate peanut butter bars, marshmallow bars


